Uploading new images and changing image dimensions
When images are uploaded to listings on a page, the image focal point may point to the wrong area of the image. Sometimes this can result in cut-off text or faces. This article will teach you how to adjust the focal image point, so that it shows the main point of focus when an image is used in a listing (see example of the right).
This is especially useful for listings with images of faces or text, so they don't get cut off.
Step-by-step guide
Step 1: uploading a new image to the media gallery
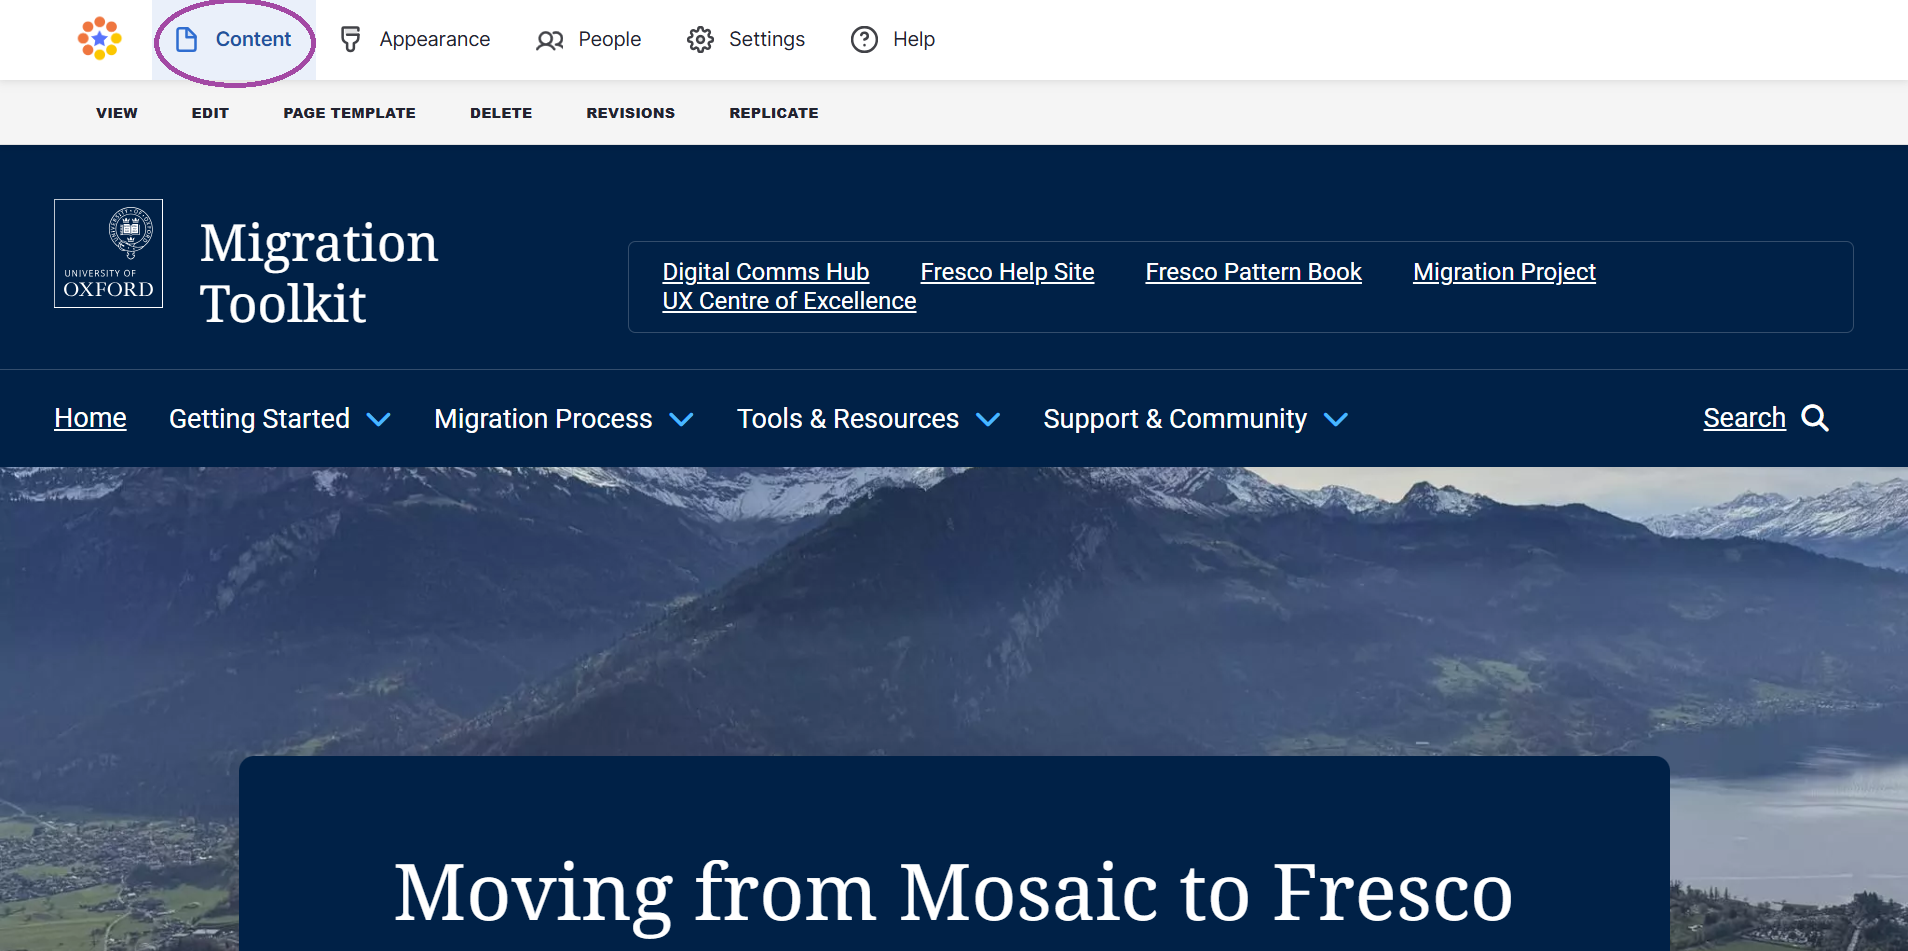
- Access your site
- Go to 'content'
Step 2: uploading a new image to the media gallery
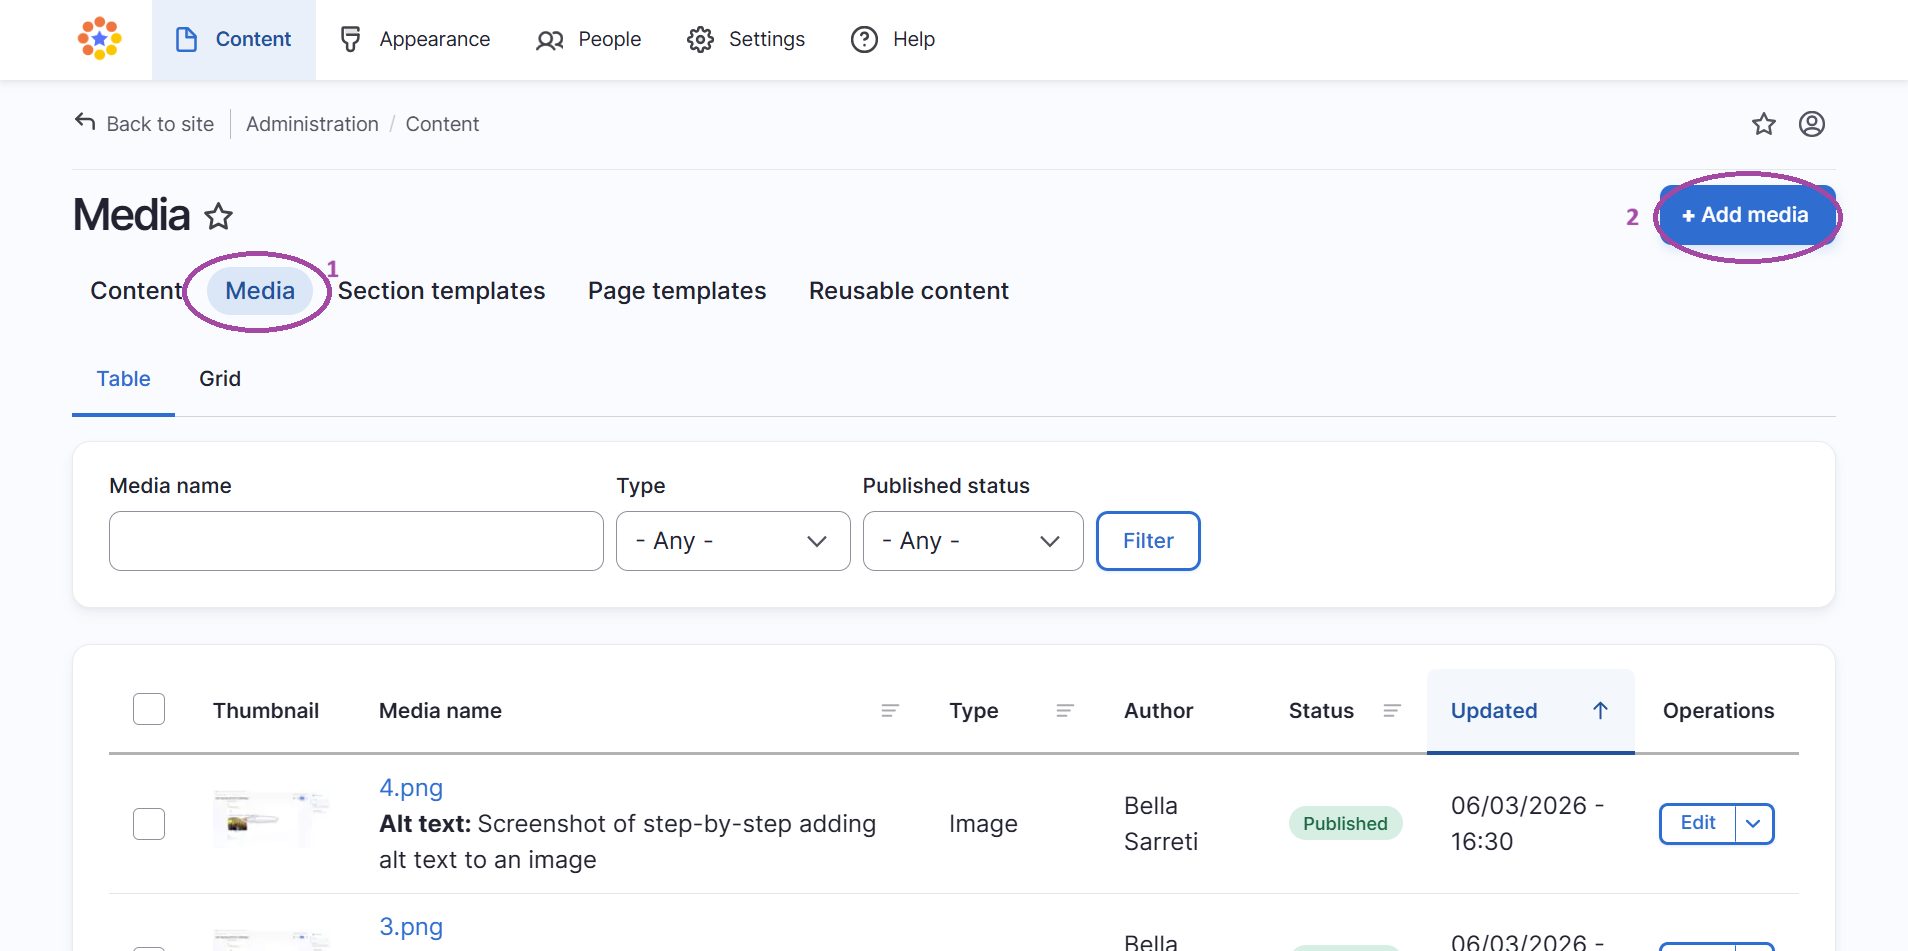
- Go to 'media'
- Add media
Step 3: uploading a new image to the media gallery
- After selecting '+ Add media', choose the 'image' media item

Step 4: uploading a new image to the media gallery
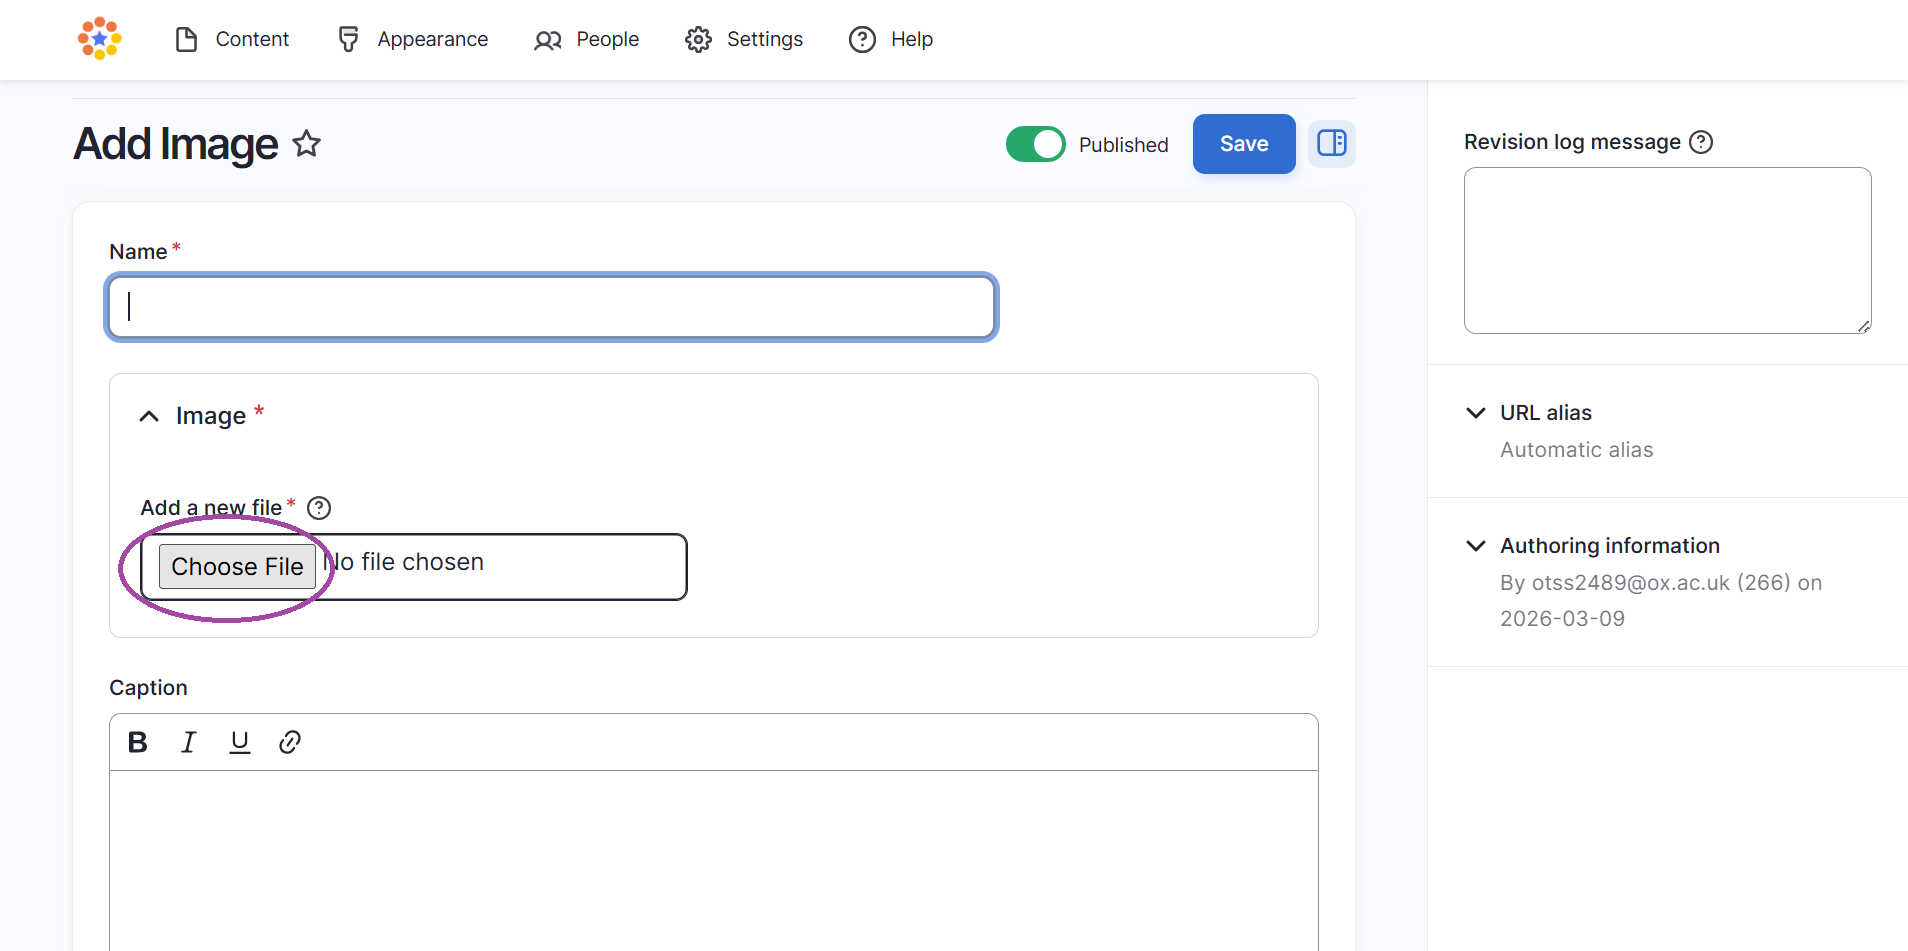
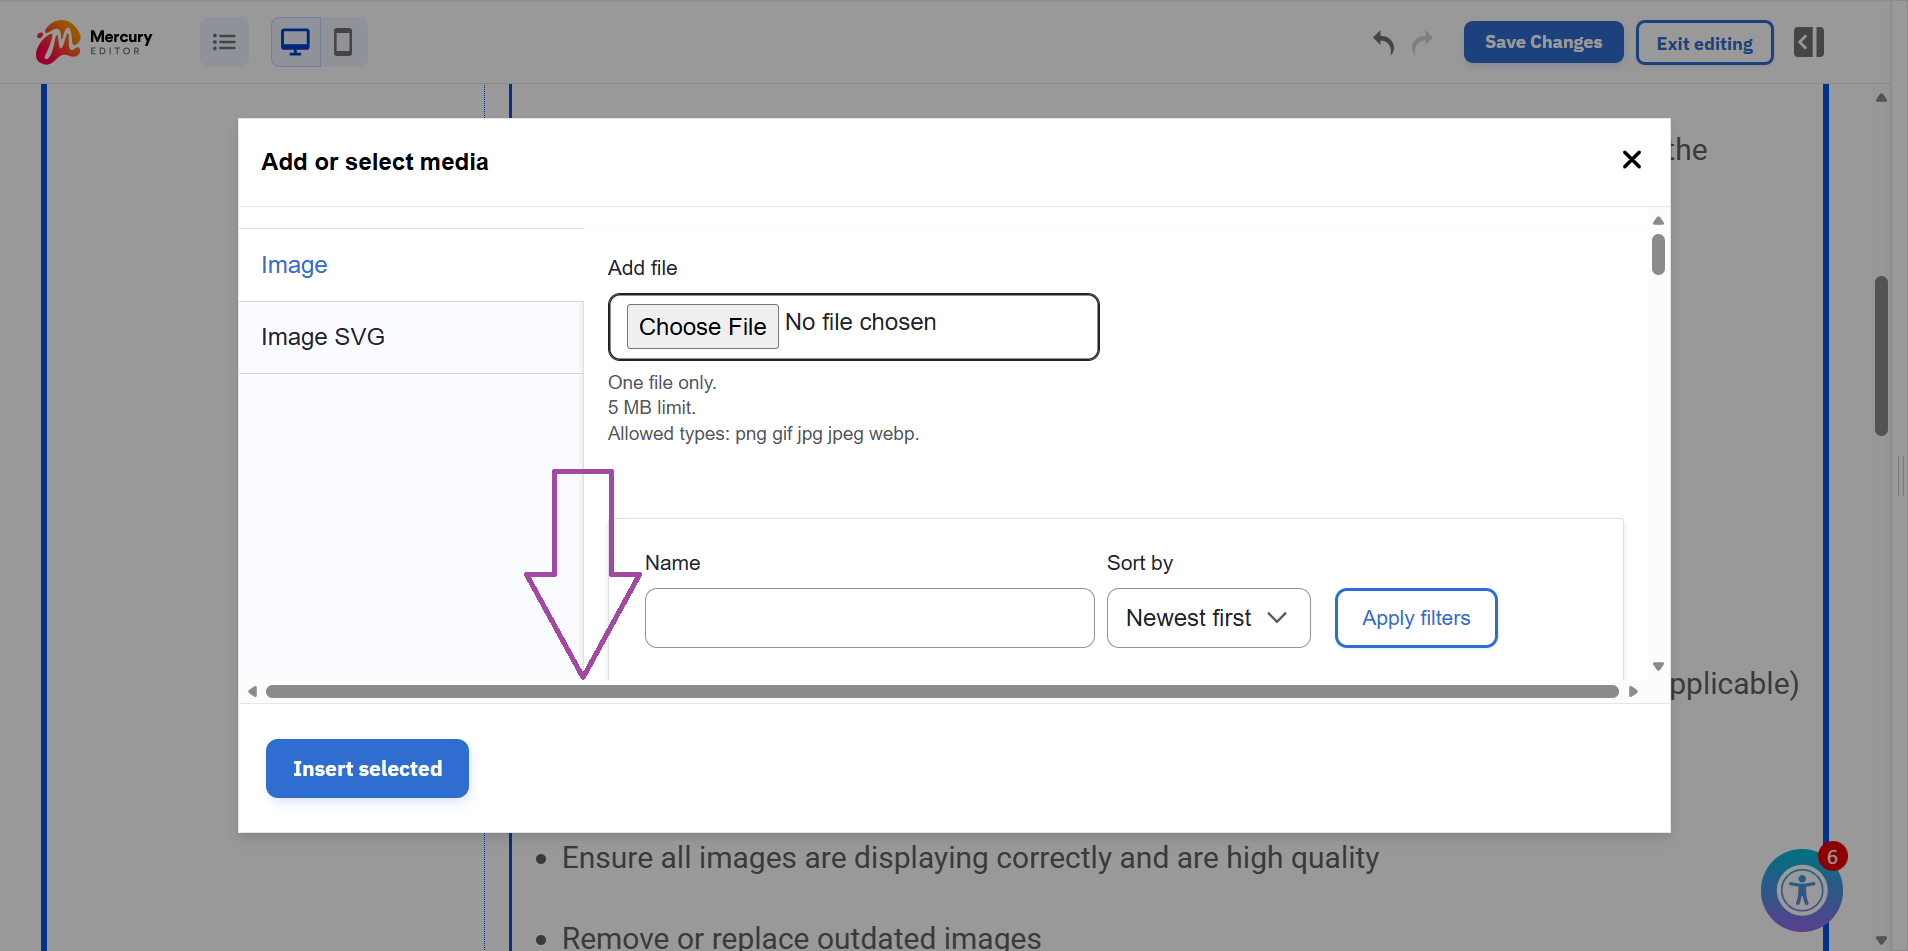
- Upload your desired image
Step 5: uploading a new image to the media gallery
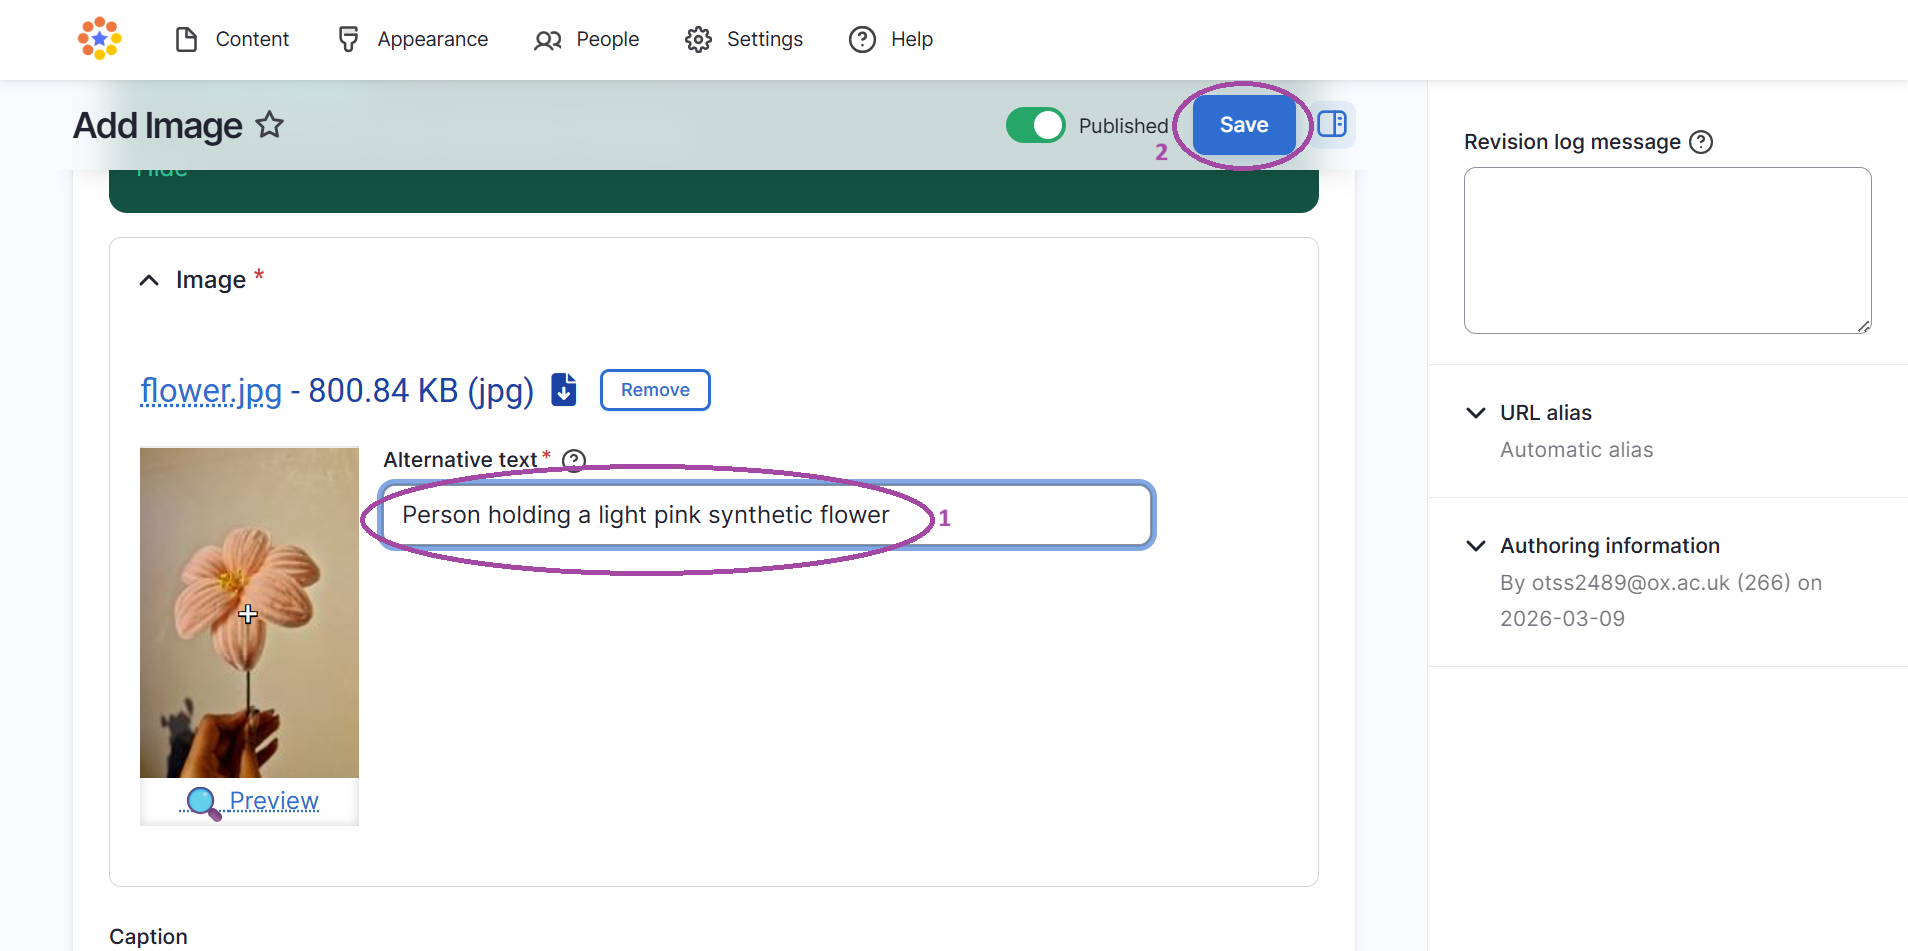
- Rename the image under the 'name' field
- Add alt text under the 'alternative text' field
- Click 'save'
Step 6: changing image dimensions
- Go to 'content'
- Under content, go to 'content'

Step 7: changing image dimensions
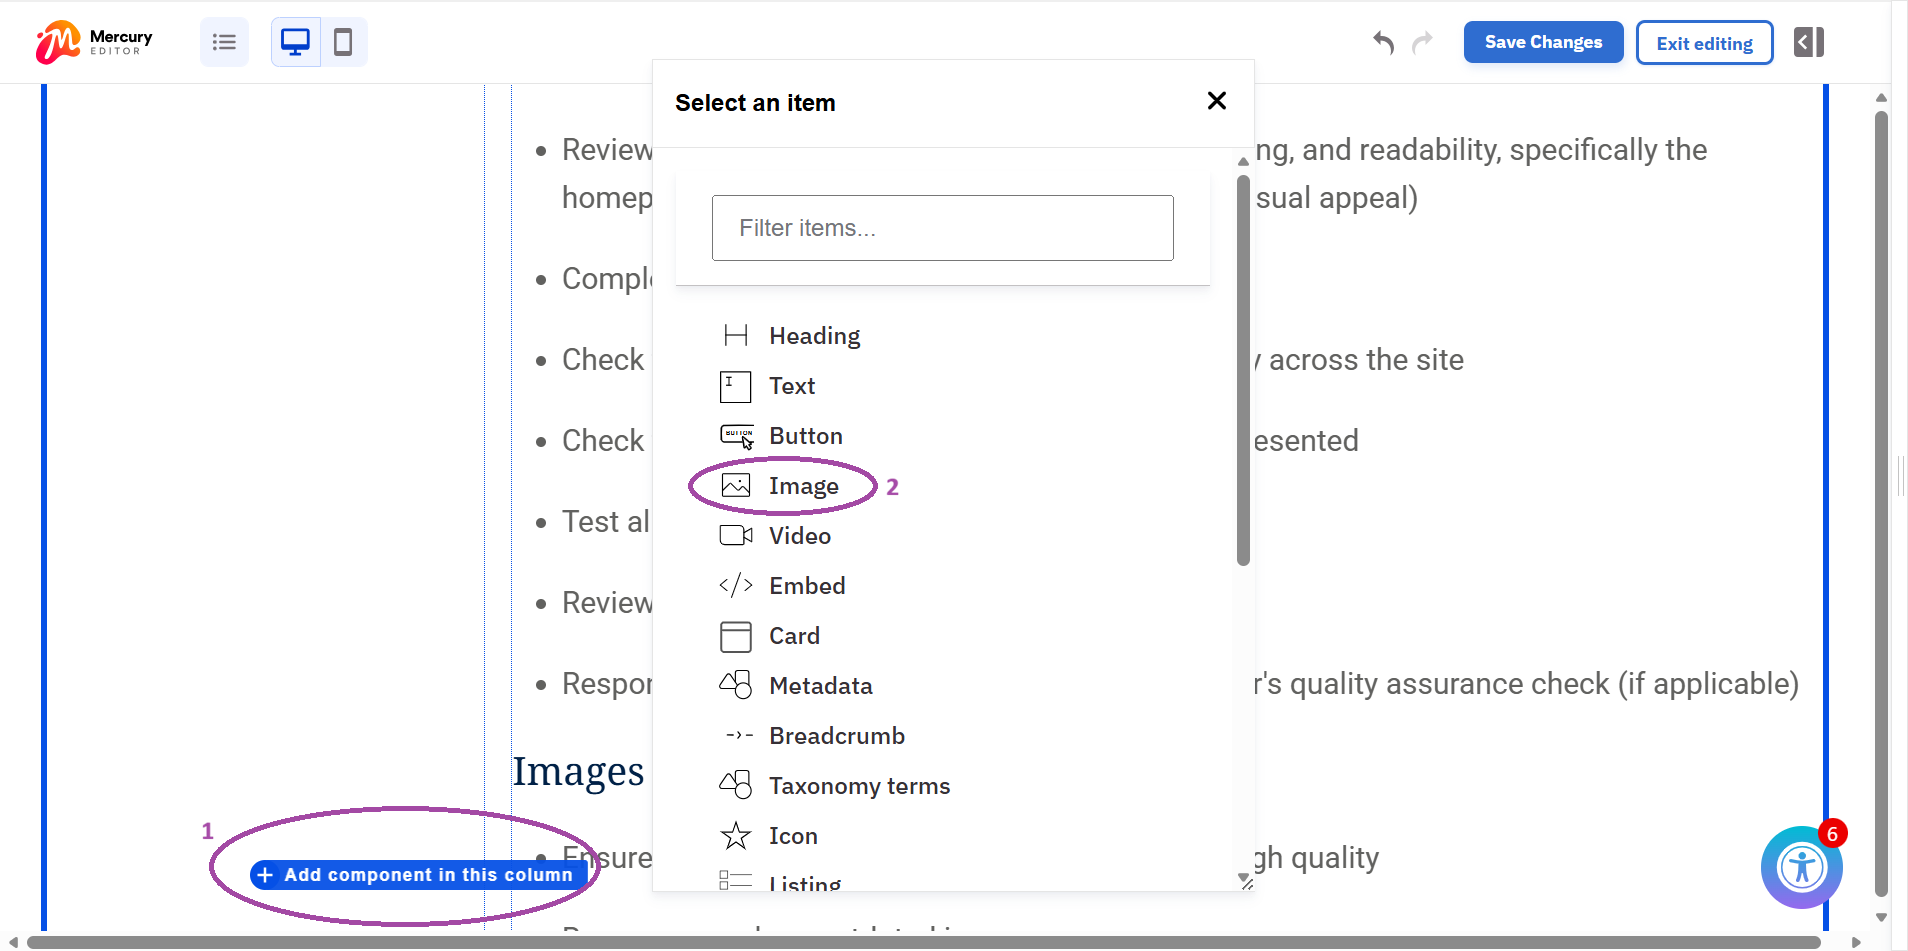
- Hover over the section where you'd like to insert and image and select '+ Add component in this column'
- Select 'image'
- Select 'add media'
Step 8: changing image dimensions
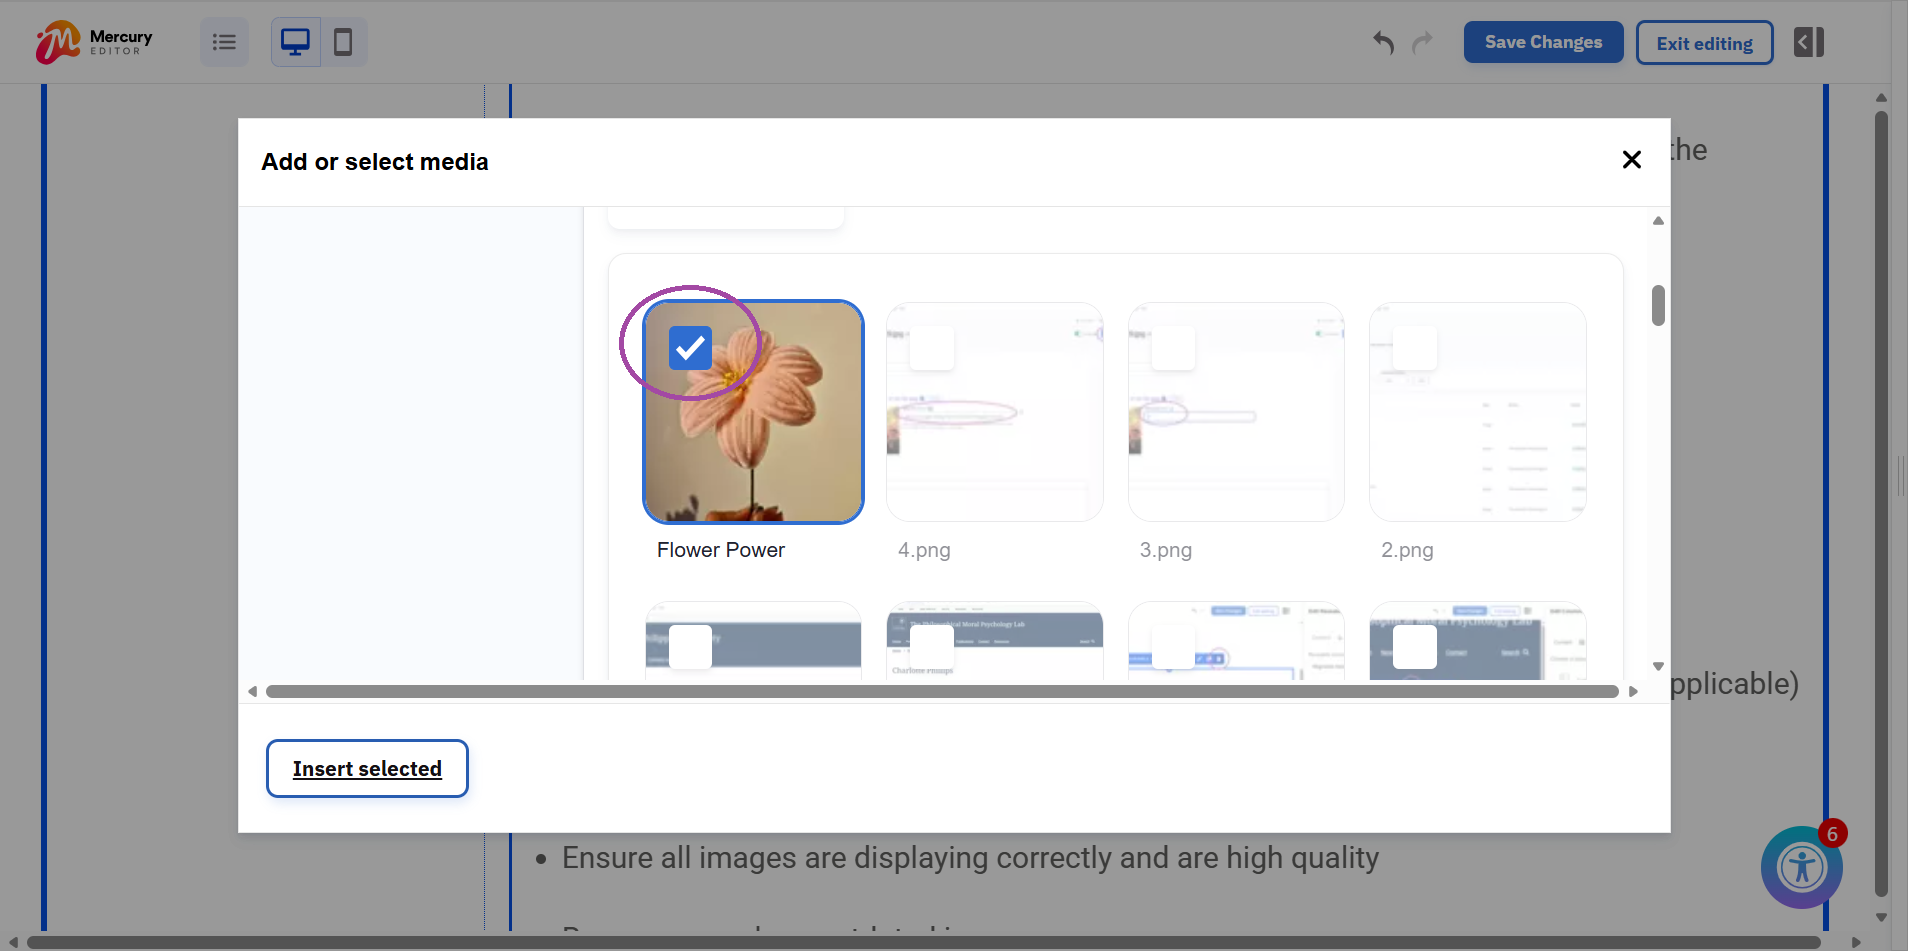
- Scroll down to find the image you have uploaded to the media gallery
Step 9: changing image dimensions
- Select the image you'd like to add
Step 10: changing image dimensions
- Choose your desired image dimensions
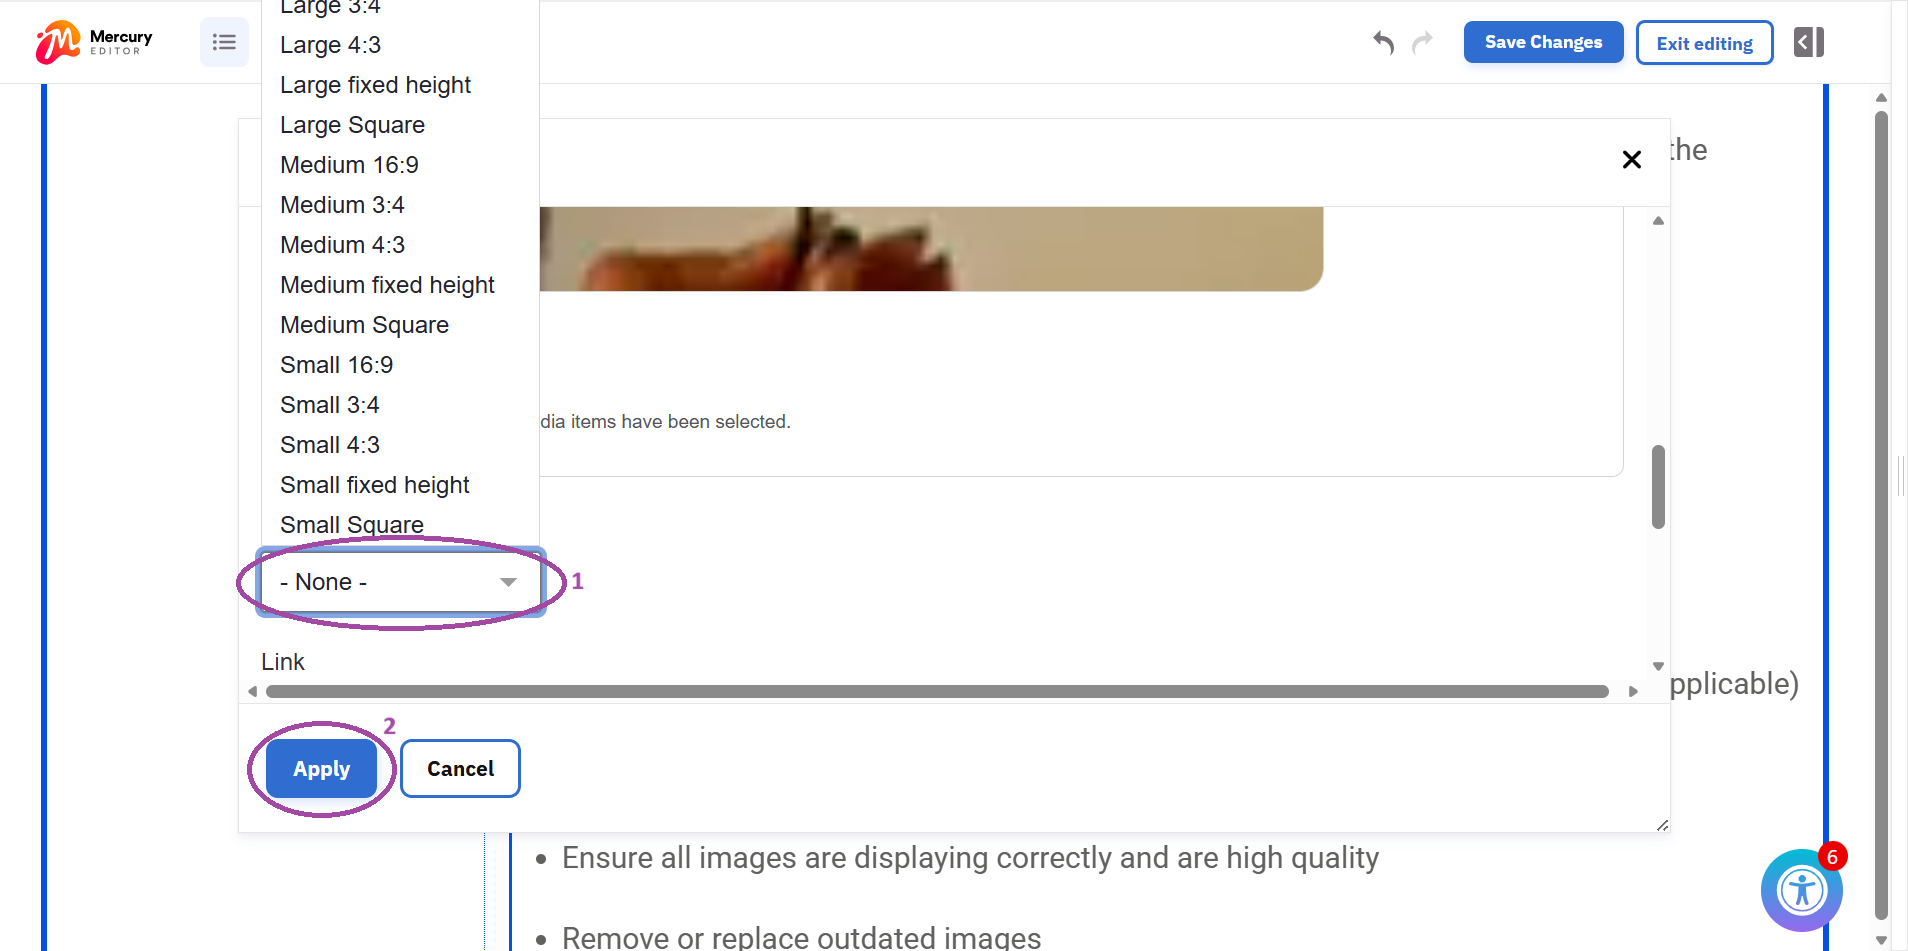
Step 11: changing image dimensions
- Choose your desired image dimensions
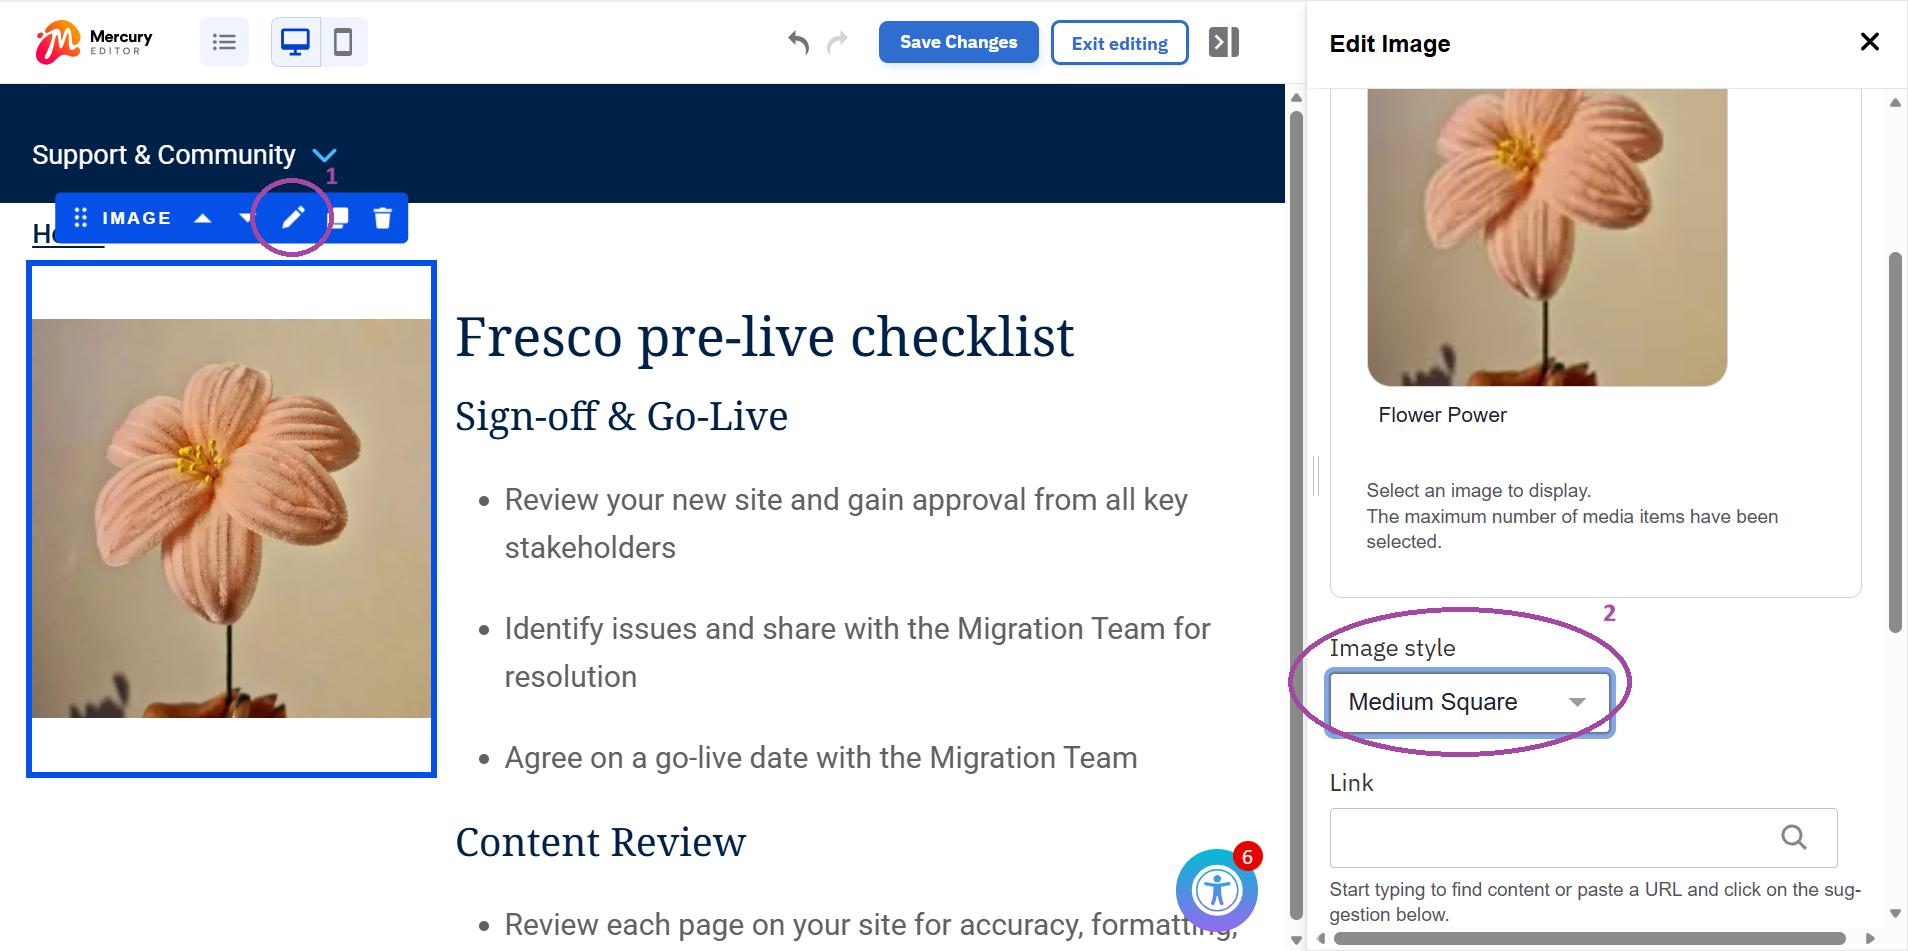
Step 12: changing image after adding an image component to a page
If you want to change the dimensions of an image once it has been uploaded to the page:
- Click on the image component and select the pencil icon
- Under 'Image style', choose a new dimension for your image
- Remember to click 'save changes' before 'exit editing'