
Changing the focal image point
When images are uploaded to listings on a page, the image focal point may point to the wrong area of the image. Sometimes this can result in cut-off text or faces. This article will teach you how to adjust the focal image point, so that it shows the main point of focus when an image is used in a listing (see example of the right).
This is especially useful for listings with images of faces or text, so they don't get cut off.

1) Before changing the focal image point

2) After changing the focal image point
Step-by-step guide
Step 1
- Access your site
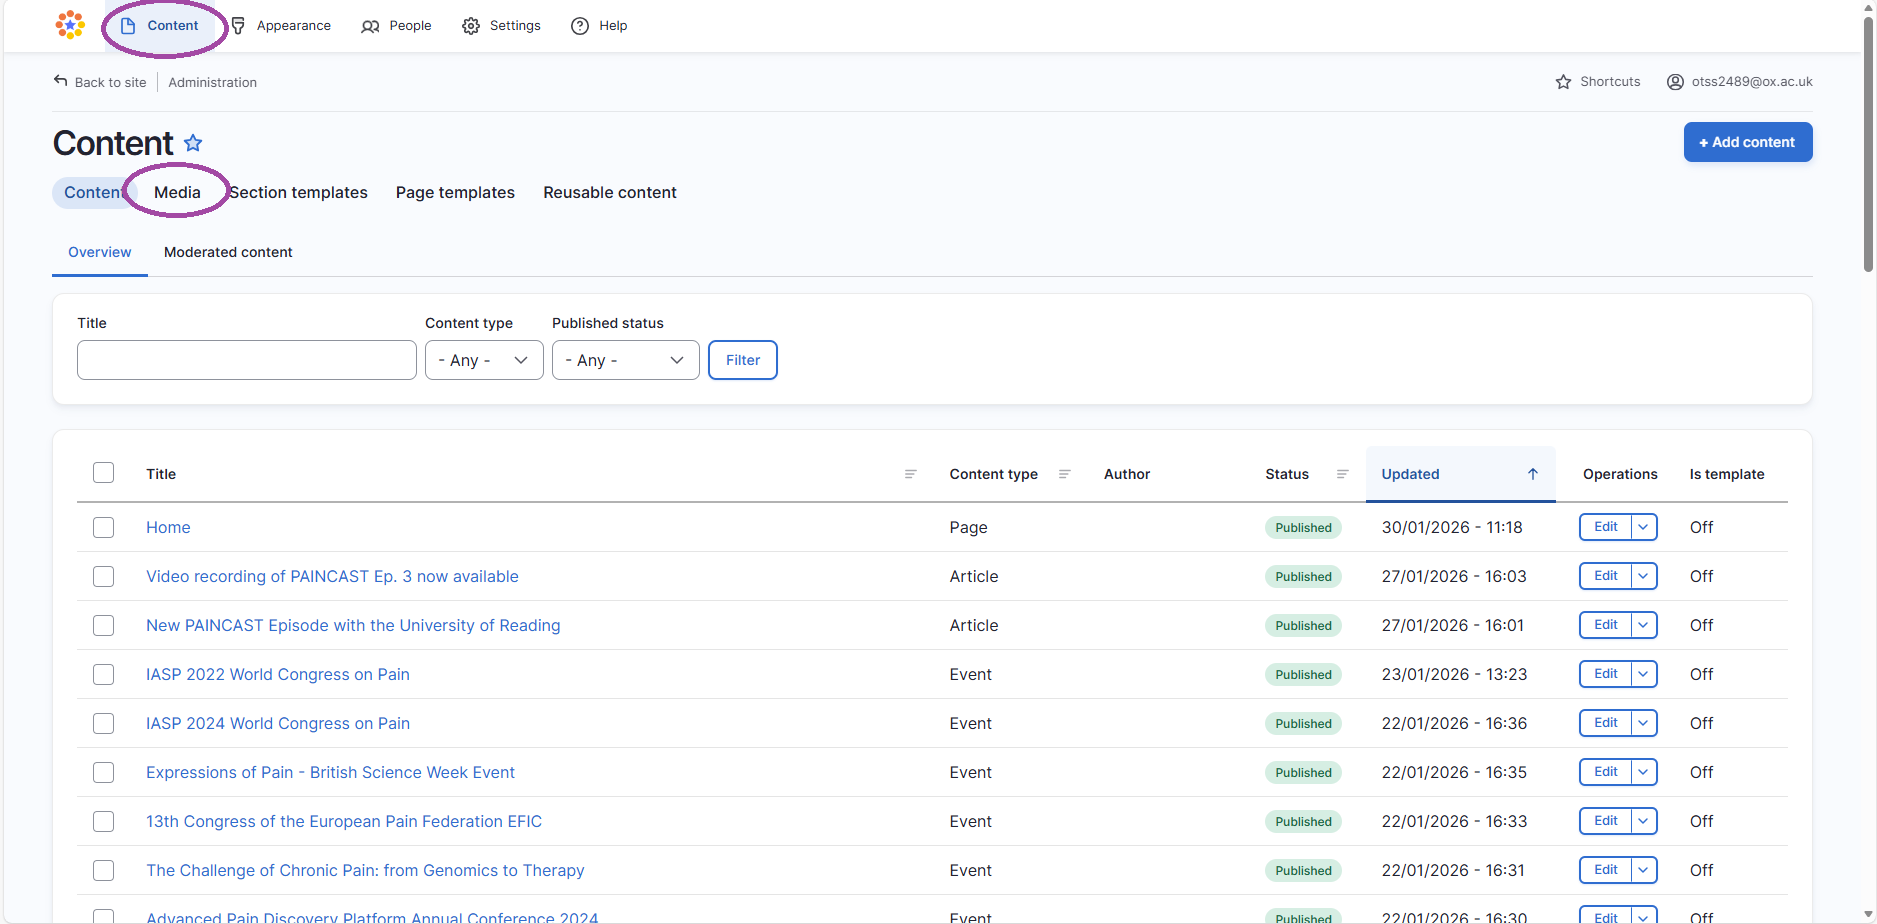
- Go to 'content'
- Go to 'media'
Step 2
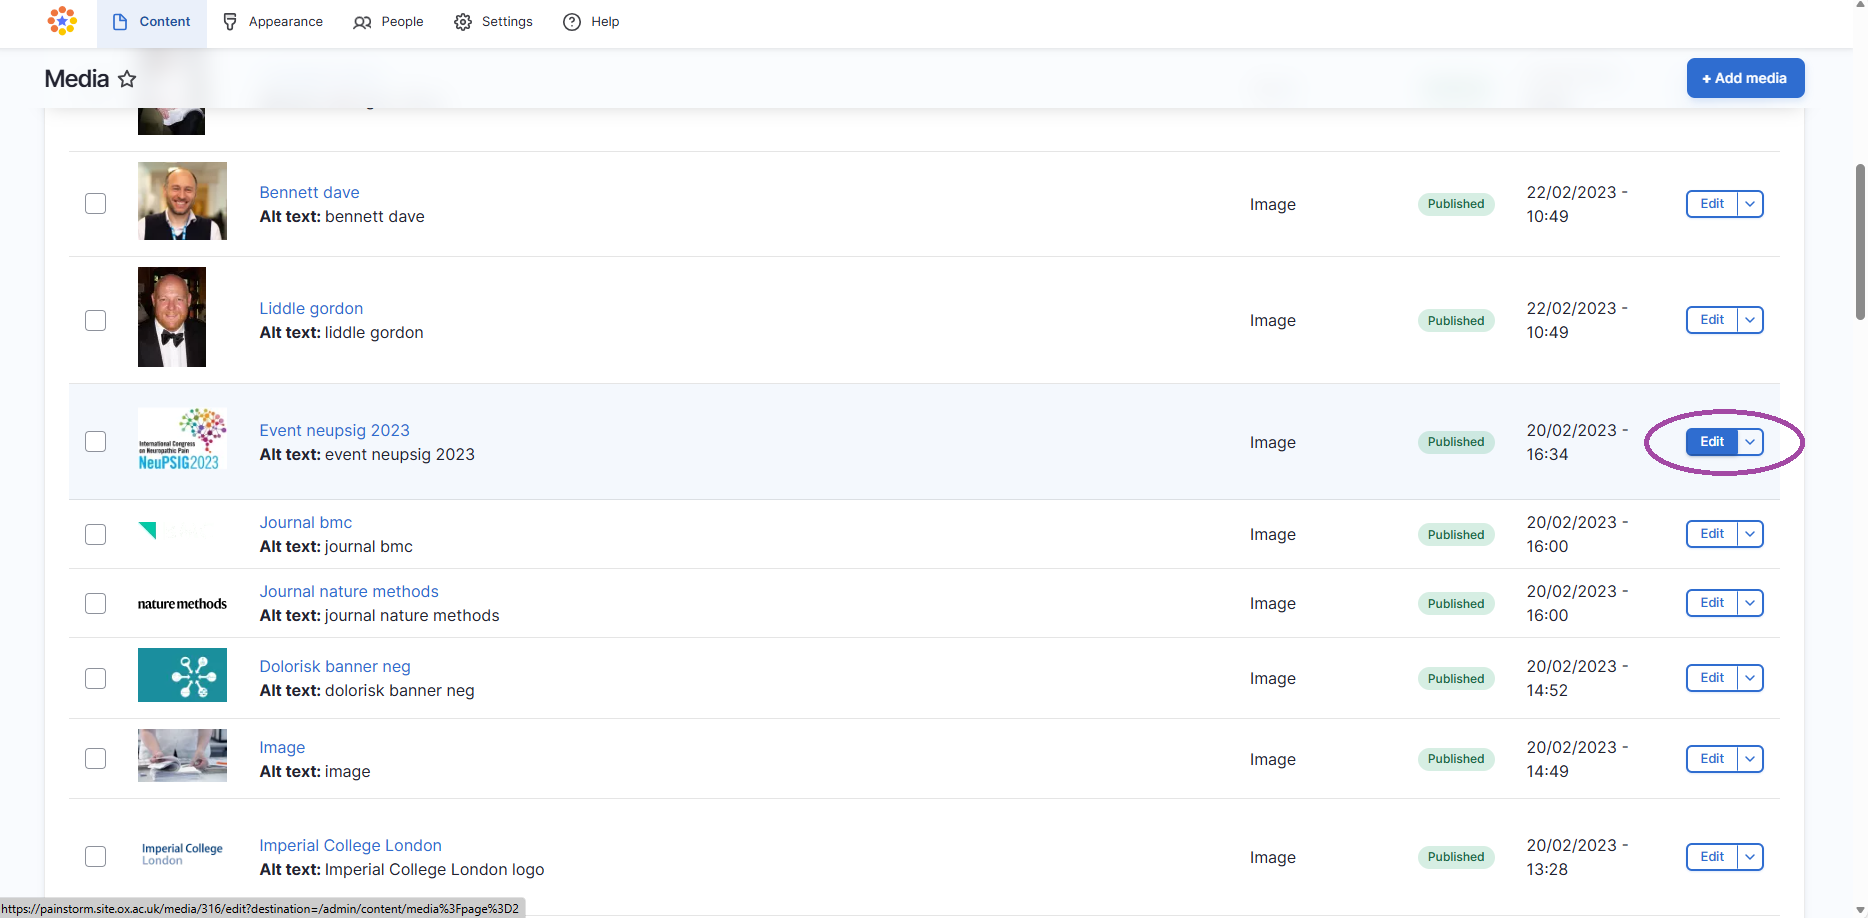
- Find the image you want to change the focal image point within the 'media' section
- Go to 'edit'
Step 3
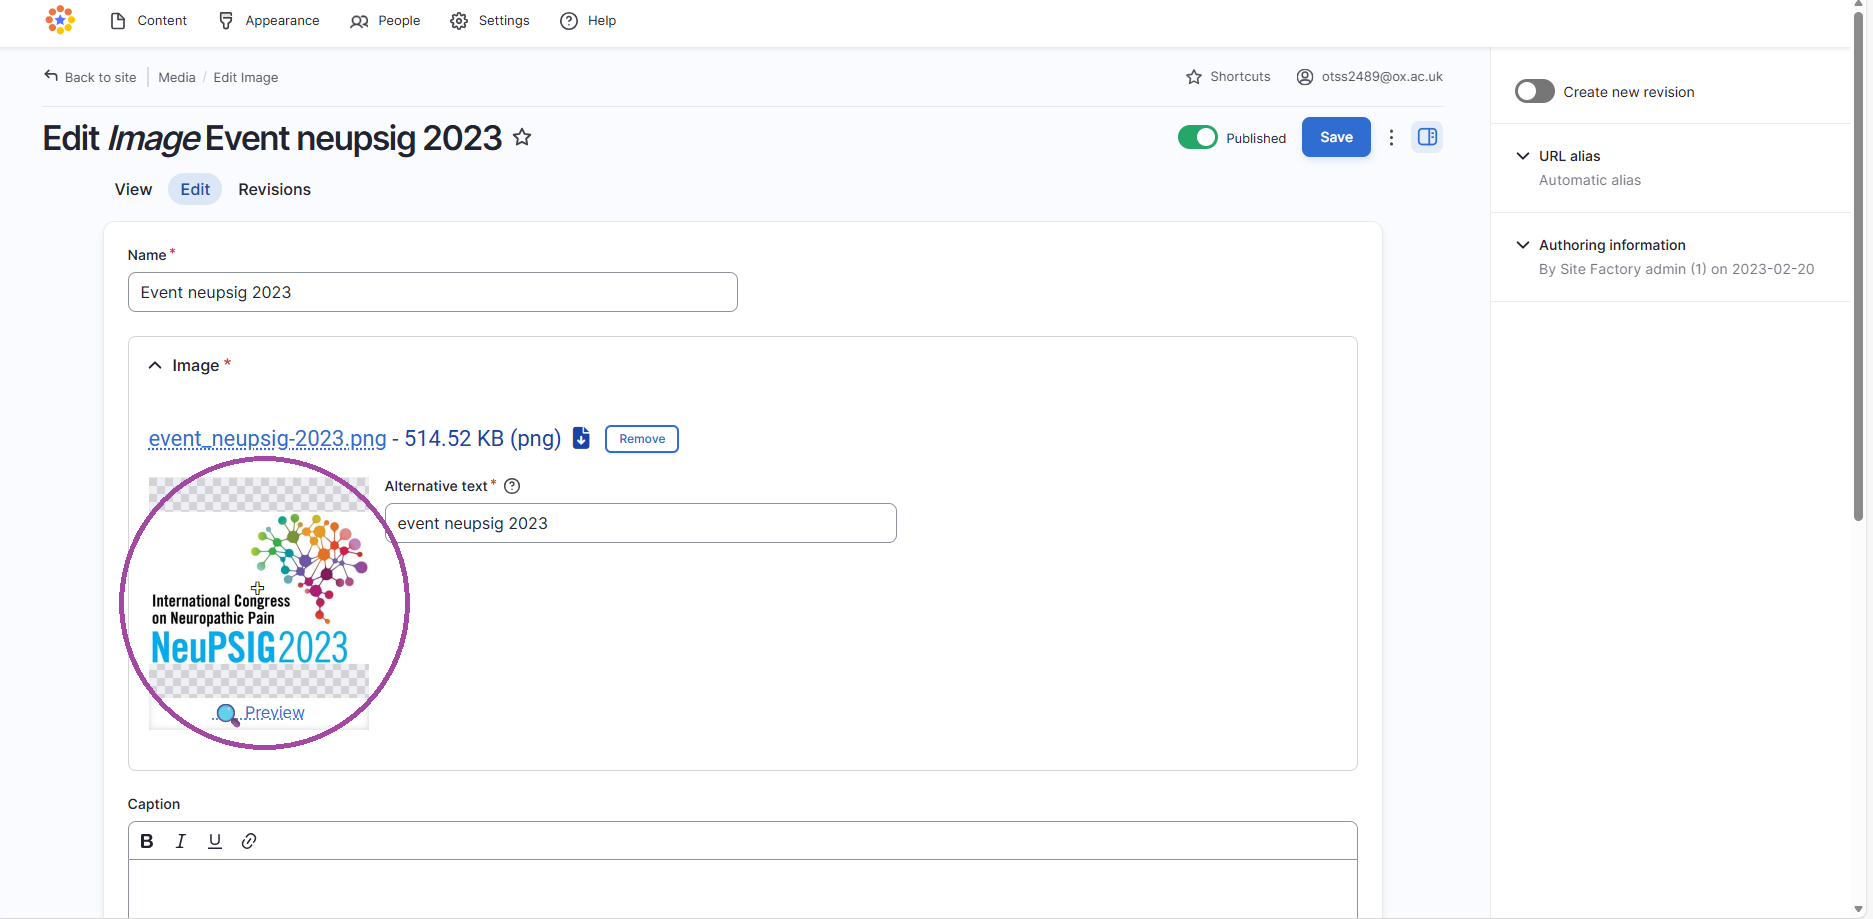
- Hover over the image and drag the focal point (+ sign) to where you want the main focus of the image to be
- Click 'save'
Step 4
- Refresh the page where the image appears in a listing
- Repeat steps 1-4 if image focal point needs adjusting
Note: The focal image point will be used for the same image on every listing it appears on in a site. If you want separate focal image points for the same image (but on different listings), you will need to re-upload the same image to 'media' twice.